Nov 21, 2012

Android 4.2: Developer Options

If you try to build your own Android applications, you have to enable "Developer Options" on your device. After upgrading my Nexus 7 to Android 4.2 there is no entry "Developer Options" inside the settings menu. Google has hidden this entry in order to do not confuse normal users...
This is the way to enable Developer Options (again):
go to settings->about tablet
tap 7 times on "build number"

After four times you will see:

and after seven times:

Now you can enable "show touches" and "pointer location" and get the following:

Nov 19, 2012

Android: Running my first application on my Nexus 7

After running the android application in an emulator, it is time to install the application on a real device. If you want to install the application on your Nexus 7, you have to follow this steps:
  • put your Nexus 7 in USB debugging mode
    (Settings -> Developer Options {} -> USB debugging)
    (Android version >4.1 you have to use this instruction)
  • change USB mode to PTP
    (take a look here to do this)
  • check connectivity with adb command:
    schroff@hades:$ ./adb devices
    List of devices attached
    0XXXXXXXXXXXXX        device

    schroff@hades:$

After this: start eclipse and open your project (how to create a project look here) and change "run"->"run configurations" -> "target" to "Always prompt to pick device":
and after hitting run:
Now on the Nexus 7 the icon appeared:
and the app started like in the emulator:

Nov 16, 2012

Android: Building my first app (on windows 7)

After hitting the error:
X Error of failed request: BadRequest (....)
on debian linux, i decided to give windows 7 a try:
Everything from step 1 to 24 (look here) of my posting was the same. But then i got:

and after some seconds the emulator was initiliazed:

And my first application is there: MainActivity (second from bottom, left lane). A double click started the application:

So next step is, to run this application on my nexus 7....

Nov 15, 2012

Android: Building my first app (on debian linux)

To build my first app, i followed the tutorial given by developer.android.com. (before you can start, you have to set up your developement tools)
  1. Start eclipse
  2. type CTRL-N
  3.  
  4.  
  5.  
  6.  
  7.  
  8.  
  9.  

  10. And after hitting finish, eclipse looked like this:
  11. At this point the tutorial recommends to look at some files and directories (look http://developer.android.com/training/basics/firstapp/running-app.html), but here i will skip this and go straight to running my app
  12. To run inside an emulator click on the Virtual Device Manager (eclipse):

  13. So i tried to build a new virtual device:
  14. But this failed with:
    [2012-11-08 20:23:12 - SDK Manager] Unable to find a 'userdata.img' file for ABI armeabi to copy into the AVD folder.
  15. Therefor this link gave a solution:
    Click on Android SDK Manager
  16. After the successful installation, the drop down "CPU/ABI" showed some content:
  17. Now the virtual device is there....
  18. But choosing start i got this error:

Ok. No direct rendering enabled on my debian laptop....
So after running though all this steps, my summary is:

  • Looks quite good.
  • Before you start, you should use the Android SDK Manager
    (eclipse --> Window --> Android SDK Manager)
  • Do not use a linux device without direct rendering

Nov 14, 2012

Android 4.2 for Nexus 7 rolled out...

Today i was notified with this little icon:


Two week ago i already wrote a posting about the new features of Android 4.2 and not only new devices got this version. Here some screenshots of the update:


And here we go:

Nov 7, 2012

Android-App Development: commandline tools of the android-sdk

After setting up the development environment for Android apps, i was curious about the downloaded android sdk. So what about just trying to look into this "android-sdk" directory:
It contains the following directories (only first two levels listed:
.
├── add-ons
├── platforms
│   └── android-16
├── platform-tools
│   ├── aapt
│   ├── adb
│   ├── aidl
│   ├── api
│   ├── dexdump
│   ├── dx
│   ├── fastboot
│   ├── lib
│   ├── llvm-rs-cc
│   ├── NOTICE.txt
│   ├── renderscript
│   └── source.properties
├── temp
└── tools
    ├── adb_has_moved.txt
    ├── android
    ├── ant
    ├── apkbuilder
    ├── apps
    ├── ddms
    ├── dmtracedump
    ├── draw9patch
    ├── emulator
    ├── emulator-arm
    ├── emulator-x86
    ├── etc1tool
    ├── hierarchyviewer
    ├── hprof-conv
    ├── lib
    ├── lint
    ├── mksdcard
    ├── monitor
    ├── monkeyrunner
    ├── NOTICE.txt
    ├── proguard
    ├── source.properties
    ├── sqlite3
    ├── support
    ├── systrace
    ├── templates
    ├── traceview
    └── zipalign
The first command i tried was:
schroff@hades:$ ./apkbuilder


<<<<<<<<<<<<<<<<<<<<<<<<<<<<<<<<<<<<<
THIS TOOL IS DEPRECATED and may stop working at any time!

If you wish to use apkbuilder for a custom build system, please look at the
com.android.sdklib.build.ApkBuilder which provides support for
recent build improvements including library projects.
>>>>>>>>>>>>>>>>>>>>>>>>>>>>>>>>>>>>>


A command line tool to package an Android application from various sources.
Usage: apkbuilder <out archive> [-v][-u][-storetype STORE_TYPE] [-z inputzip]
            [-f inputfile] [-rf input-folder] [-rj -input-path]

    -v      Verbose.
    -d      Debug Mode: Includes debug files in the APK file.
    -u      Creates an unsigned package.
    -storetype Forces the KeyStore type. If ommited the default is used.

    -z      Followed by the path to a zip archive.
            Adds the content of the application package.

    -f      Followed by the path to a file.
            Adds the file to the application package.

    -rf     Followed by the path to a source folder.
            Adds the java resources found in that folder to the application
            package, while keeping their path relative to the source folder.

    -rj     Followed by the path to a jar file or a folder containing
            jar files.
            Adds the java resources found in the jar file(s) to the application
            package.

    -nf     Followed by the root folder containing native libraries to
            include in the application package.
Hmm. Does not really look as i expected.
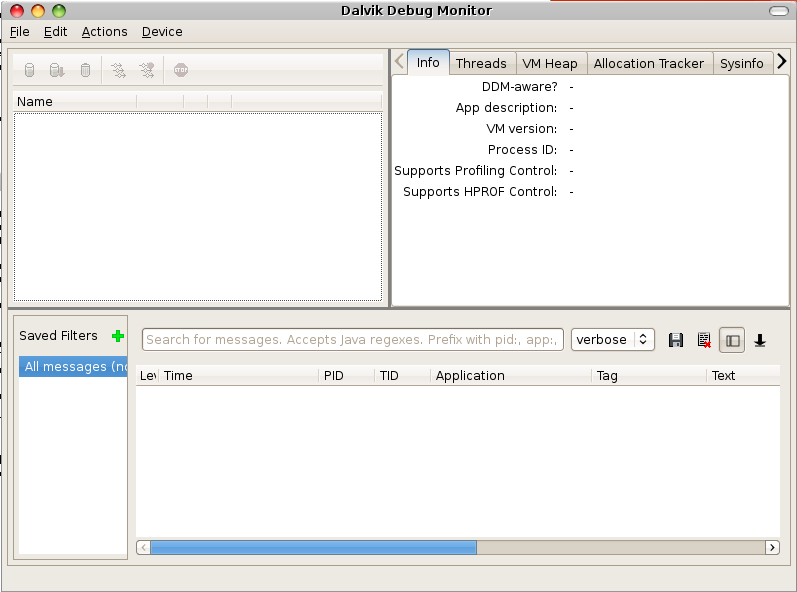
DDMS opened the following window named Davlik Debug Monitor:


The command hierarchyviewer launched this window:

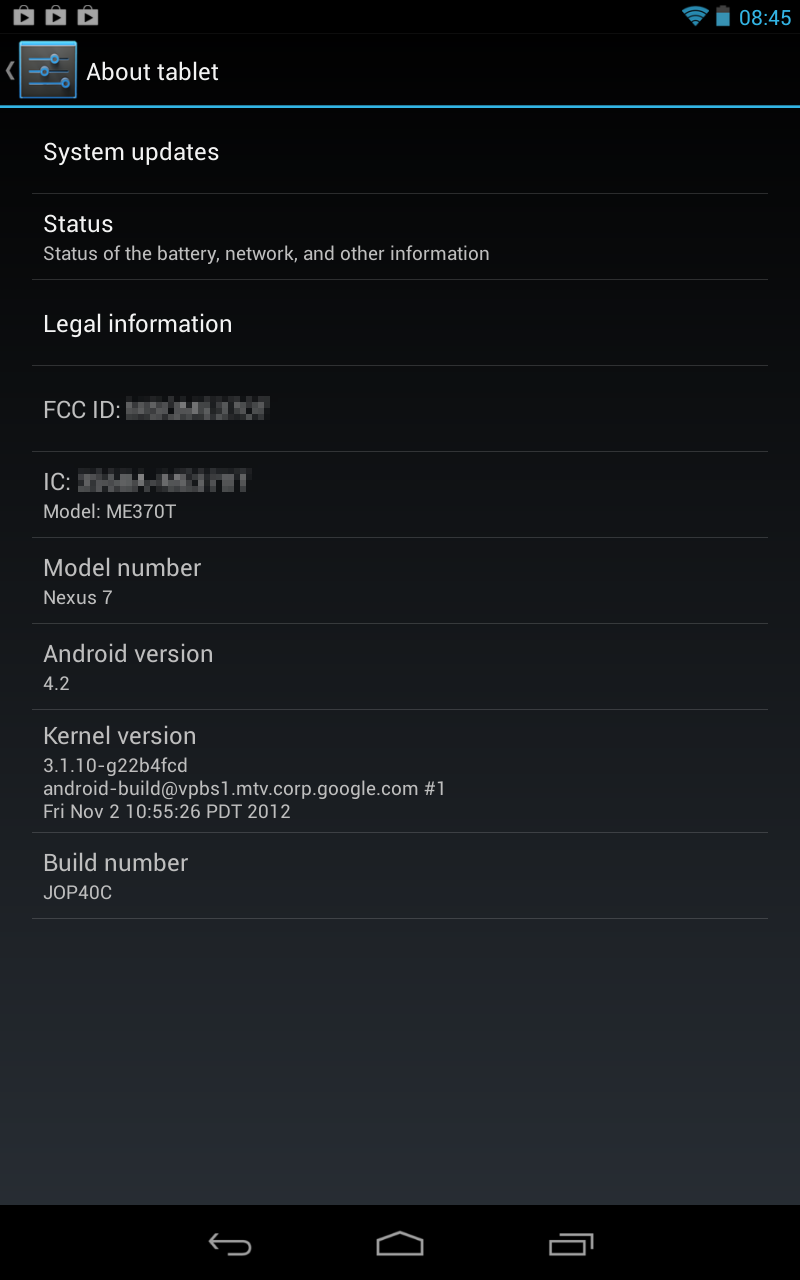
Last try: monitor came up with:


But i think, i have to follow the tutorial to see, how all these things work together. At least all commands work (no seg faults)...

Nov 4, 2012

Android: Building an App? Getting your Developer tools first!

After buying a Nexus 7 one month ago and looking for a good navigaion app, the next step should be building my first own app for this Android device. There is a nice starting point given by developer.android.com.

Downloading the Android SDK shows the following:

Eclipse can be found via this link. I downloaded Eclipse Classic 4.2.1 (eclipse-SDK-4.2.1-linux-gtk.tar.gz).
A tutorial for configuring eclipse is provided here. Here a walkthrough the screens:


After a while i got:

That did not look good, but let's ignore this kind of error...
Then the installation finished and eclipse needed to be restarted. Now i wanted to follow the tutorial about installing the Android SDK, but eclipse came up with the following question:


So this was easier than the steps described at developer.android.com...
Then a last restart to eclipse and there it was: New Project -> Other:

So everything is in place now. Next step is to build my first app for the Nexus 7...

Nov 2, 2012

Nexus 7: Connecting via USB to Debian Linux

Today i tried to connect my Nexus 7 tablet with my debian laptop. First i just plugged the usb cable in and /var/log/messages showed the following line:
Nov  2 22:03:02 hades kernel: usb 1-1: new high speed USB device using ehci_hcd and address 2
But the tablet showed up the following:

Bringing down the android menu this showed:

Tapping on the usb entry i was able to choose the following options:

Not bad, but on my laptop no partition being found... After some searches via Google i know, that i have to install two more packages:
hades:/home/schroff# apt-get install mtp-tools mtpfs
Paketlisten werden gelesen... Fertig
Abhängigkeitsbaum wird aufgebaut      
Statusinformationen werden eingelesen... Fertig
Die folgenden zusätzlichen Pakete werden installiert:
  libmtp8
Die folgenden NEUEN Pakete werden installiert:
  mtp-tools mtpfs
Die folgenden Pakete werden aktualisiert (Upgrade):
(Lese Datenbank ... 229320 Dateien und Verzeichnisse sind derzeit installiert.)
Vorbereitung zum Ersetzen von libmtp8 1.0.3-1+squeeze1 (durch .../libmtp8_1.0.3-1+squeeze2_i386.deb) ...
Ersatz für libmtp8 wird entpackt ...
Vormals abgewähltes Paket mtp-tools wird gewählt.
Entpacken von mtp-tools (aus .../mtp-tools_1.0.3-1+squeeze2_i386.deb) ...
Vormals abgewähltes Paket mtpfs wird gewählt.
Entpacken von mtpfs (aus .../archives/mtpfs_0.9-3_i386.deb) ...
Trigger für hal werden verarbeitet ...
Regenerating hal fdi cache ...
Restarting Hardware abstraction layer: hald.
Trigger für man-db werden verarbeitet ...
libmtp8 (1.0.3-1+squeeze2) wird eingerichtet ...
mtp-tools (1.0.3-1+squeeze2) wird eingerichtet ...
mtpfs (0.9-3) wird eingerichtet ...
Then i followed this tutorial: http://blog.jsntng.me/2012/08/mounting-nexus-7-on-ubuntu-1204.html
After all the steps described there, it does not really work, but after one time reconnecting the tablet, i was able to see the playlists:
hades:~# ls /media/nexus7
Playlists
On Windows it should work out of the box and for MAC you can find software on www.android.com/filetransfer: